So now we are well into autumn and I couldn't be happier.
That crisp feeling in the air makes me smile. Every time I put on a pair of thick socks I get a little giddy inside. I just adore this season. I want to spend every day nestled in my little kitchen cooking and baking.
I broke out my cast iron pot and filled it with lemon, cinnamon, cloves and a splash of vanilla. I let it simmer all day. You can imagine how great it smells. It just fills the house up. It's also keep the air moist, which is a very good thing during the colder months when your heat is drying out your skin and sinuses. It's one of my most favorite things in the kitchen this time of year.
John and I are getting ready to get our Christmas crafting on. We're ordering supplies and mapping out a plan for this years project. I put a good dent in my Christmas shopping already. I shop early every year. My goal is to be done by Thanksgiving that way I can spend the weeks following crafting and cooking and baking. To me that's what the holiday season is all about. Sure it's great to give and receive gifts, but to me, the time you spend with your family and friends is really what is most important, so I try and focus on that.
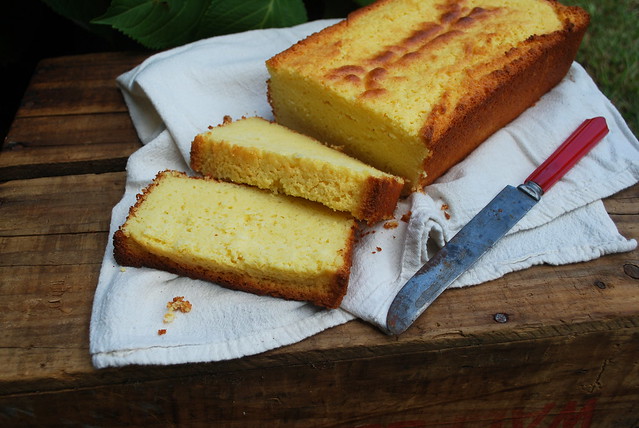
I love to bake a what I call "weekend pound cake". The kind of cake you make on Saturday morning and leave on the table with the knife still on the plate so that you can just slice off a piece as you pass by. I love that pound cakes are a simple and no-frills kinda cake. Birthday cakes are just lovely, rich and decadent chocolate cakes are fine too, but I'll take a piece of pound cake over those any day of the week. Wrap me up in a blanket, hand me a book book, a cuppa tea and a piece of pound cake and I'm one happy girl.
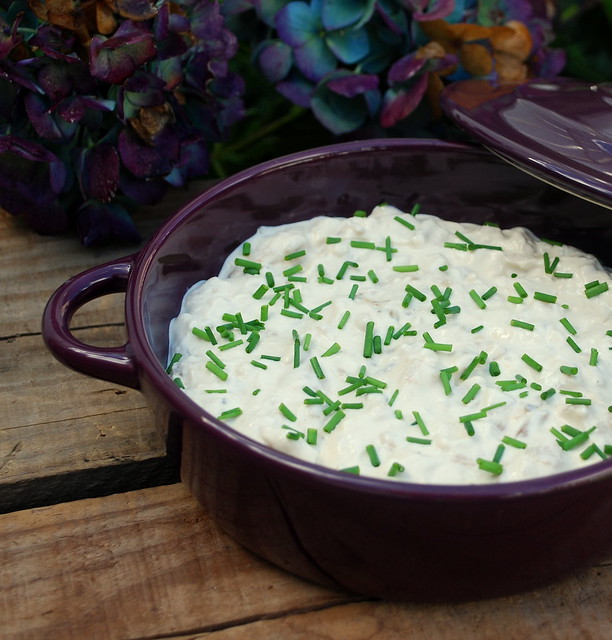
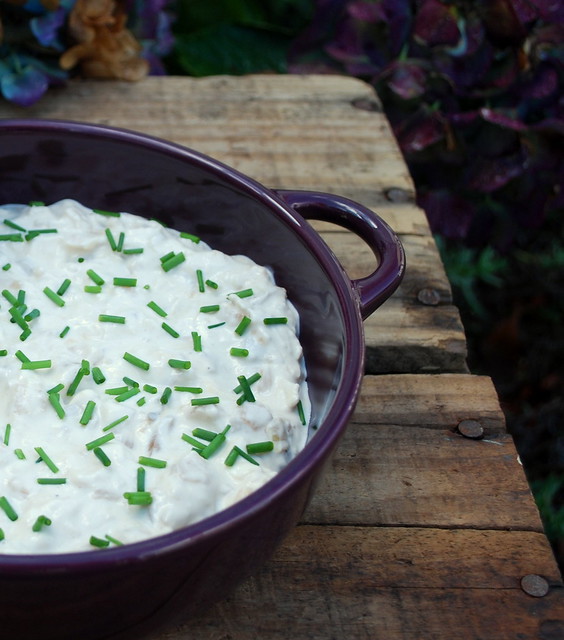
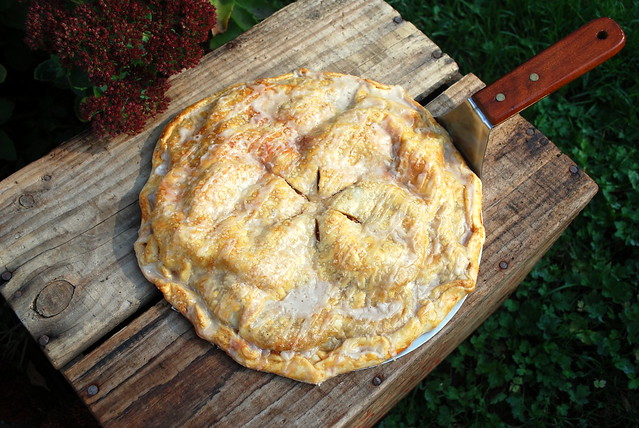
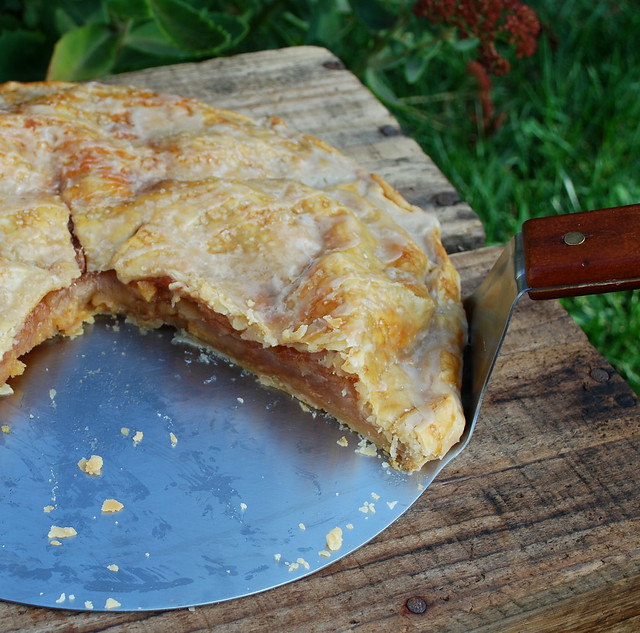
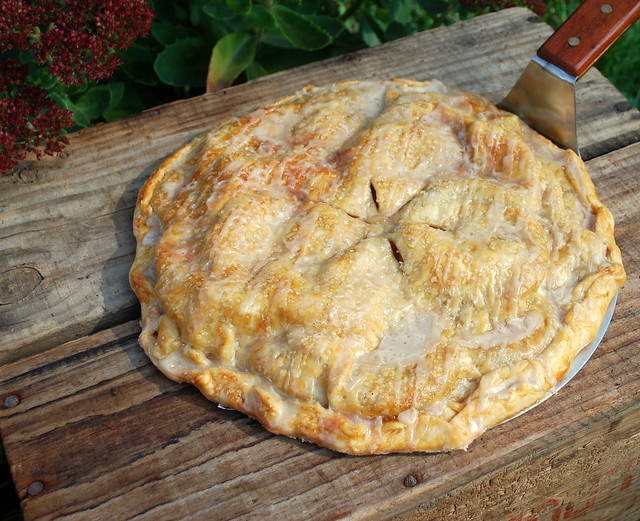
Don't even get me started on pie.....that is a whole post by itself!
I found this recipe on a blog I love....Alexandra Cooks. I've made so many of her recipes, but this one might be my favorite of all. It was moist and tender and the little tang from the lemon just sent me over the edge.
I'm sure this would freeze well. Maybe baked in small loaf pans for Christmas presents? It's never too early to plan for Christmas! (At least not for me!)
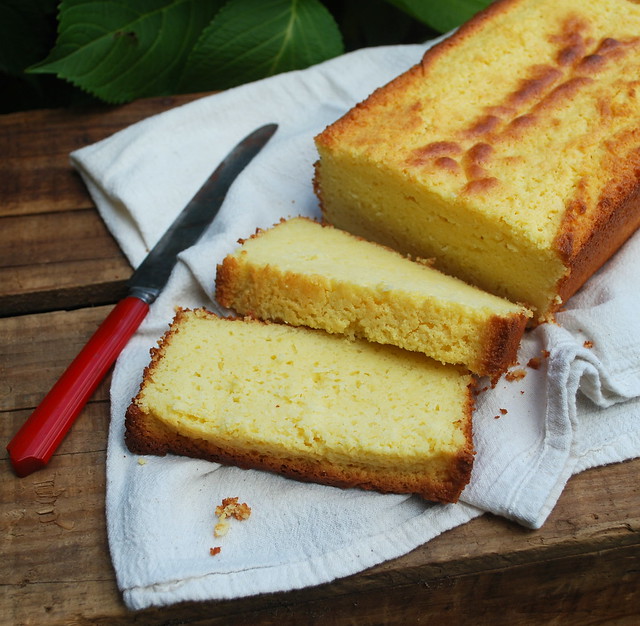
Lemon Ricotta Pound Cake
Recipe from Alexandra's Kitchen
Yield = one 9x5x3-inch loaf or three mini loaves
3/4 cup (1 1/2 sticks) unsalted butter, at room temperature
1 1/2 cups cake flour
2 teaspoons baking powder
1 teaspoon kosher salt
1 ½ cups (13 oz) whole-milk ricotta cheese
1 1/2 cups plus 1 tablespoon granulated sugar
3 large eggs
1 teaspoon pure vanilla extract
zest of 1 to 2 lemons (I used 2)
2 tablespoons freshly squeezed lemon juice
Preheat the oven to 350ºF. Grease a 9-by-5-by-3-inch loaf pan or 3 three mini loaf pans with butter (grease pans very well). In a medium bowl, combine the flour, baking powder and salt. Stir to blend.
Using a mixer, cream the butter, ricotta and granulated sugar until blended, about 3 minutes — I never really go over three minutes, and it’s ok if there are some visible pieces of butter. In other words, the batter will not look entirely smooth. With the machine running, add the eggs 1 at a time. Add the vanilla, zest and lemon juice until combined. Add the dry ingredients, a small amount at a time, until just incorporated.
Pour the batter into the prepared pan and bake until a toothpick comes out clean and the cake pulls away from the sides of the pan, 50 to 60 minutes (or 5 to 10 additional minutes — cover loosely with foil if top is getting too brown) for standard loaf pan and 40 to 45 minutes for mini pans. (Note: Times might vary dramatically depending on the type of pan you are using. If you are using Pyrex or Corningware or some other glass or ceramic loaf pan, the loaves might take an hour or an hour and 15 minutes to bake. If you notice the top browning too much before the cake is finished, cover it loosely with a sheet of aluminum foil.) Let cool in the pan for about 15 minutes, then run a knife around the edges of the pan(s) and transfer loaf/loaves to a rack to cool completely.