Friday, August 23, 2013

Southern Style Deviled Eggs

Southern Style Deviled Eggs 2

I know summer is winding down and for lots of folks I know that makes them happy because it means that their kids are heading back to school but I'm not happy. I love having my kids home. I always wished I could have been a stay at home Mom. I think I would have been pretty good at it, but I've been in my current job for 30 years now. Yes, 30 years, so I guess I mine as well stick it out for a few more and then I'll retire (hopefully). The kids here in Rhode Island go back to school August 27th. It's too soon!

My oldest son is starting college! Yikes. It will just make me feel strange when someone asks me what grades they are going in and I'll have to I say...."one in college and one Junior". Freaky! So the only summer party left here to celebrate is Labor Day and what's a party without deviled eggs? Not a good one according to my deviled egg addicted hubby.
Southern Style Deviled Eggs 1

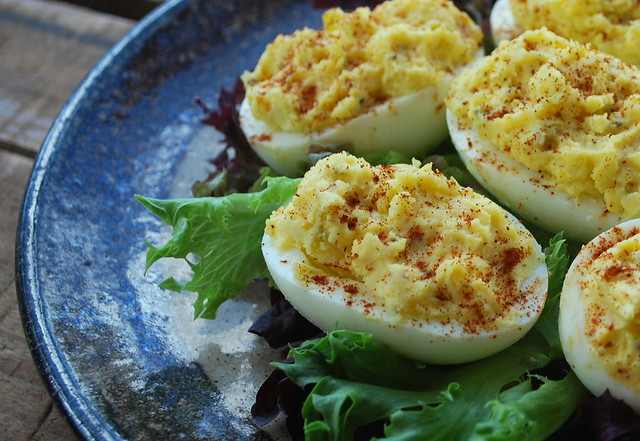
I was trying to mix things up a bit so I tried a new deviled egg recipe. *Gasp*. Yes I did. I saw it on this new show I've been taping and watching called "My Family Recipe Rocks" on the Live Well Network. Joey Fatone hosts it. Now I knew who Joey Fatone was cause he was in of one of my most favorite movies "My Big Fat Greek Wedding", and I knew he was in a boy band, I just didn't know which one (googled and discovered it was 'N Synch), but anyway....he goes around the country visiting real people in their kitchen making their family recipes with them and I have to tell you, I have about 8 recipes that I want to make from these shows.

This deviled egg recipe was one was the first. I saw them being made and I have to say, I was watching the TV saying "what??" as he added ingredients. Melted butter, sugar? Really? I had to make them. I just had too! Who puts butter and sugar in deviled eggs?

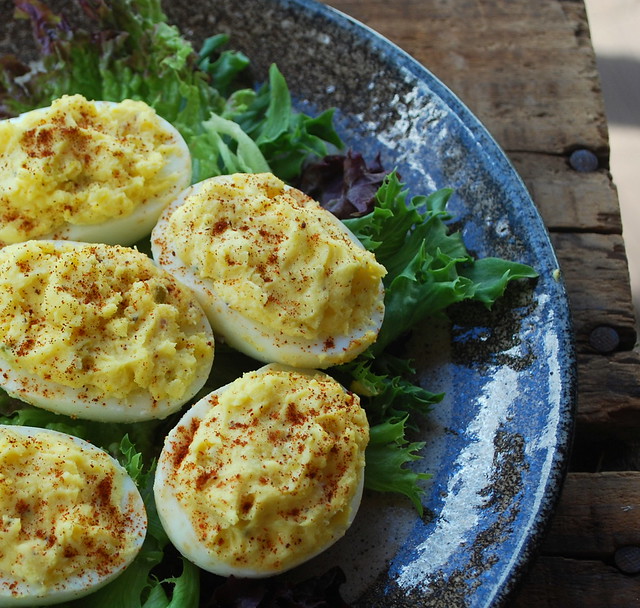
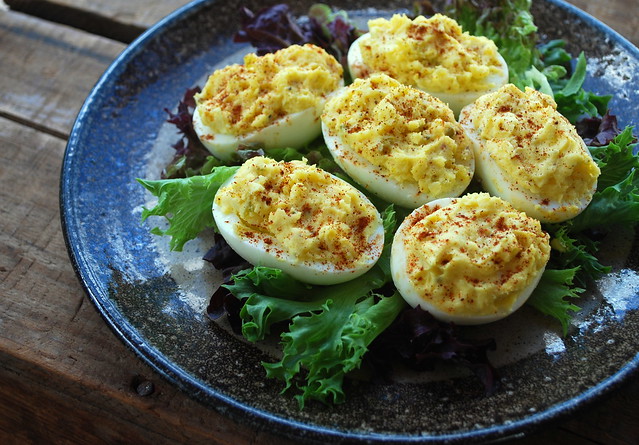
The result....pretty good. Do I like them as much as my deviled egg recipe? Maybe not, but they were tasty. Yes there was a little hint of sweetness, but it wasn't overpowering. The texture was a little different too, I know it sounds strange but it was softer.

So if you want to try a different kind of deviled egg for a change, give these a try.
Southern Style Deviled Eggs

Southern Style Deviled Eggs
recipe from My Family Recipe Rocks - Nick Sanders
1 dozen large hard boiled eggs
3/4 stick butter, melted
1 teaspoon salt
1 teaspoon fresh ground pepper
2 tablespoons sweet pickle relish, drained (I used dill relish)
1 tablespoon finely grated fresh onion
2 tablespoons sugar
1/2 tablespoon mayo
1 small squirt yellow mustard

Cut hard boiled eggs in half across long side of egg. Remove yokes and place them in medium mixing bowl. Using dinner fork, break up yolks and mash to a fine consistency. Add salt, pepper and onion to eggs and mix. Add butter to egg mixture and stir to mix well. Add pickle relish and sugar and stir well. Add mayo and mustard. Fill eggs and serve. Sprinkle with paprika (cause that's what I always do!)

Tuesday, August 20, 2013

Toasted Coconut Pound Cake

Toasted Coconut Pound Cake 3

Sometimes I love a nonproductive weekend.

I didn't clean....I did cook though.

We didn't work in the yard, but we did pick veggies from the garden.

We chilled a bit and that was ok. I'm usually going 100 miles an hour, but this weekend just seemed like time to slow down a bit.

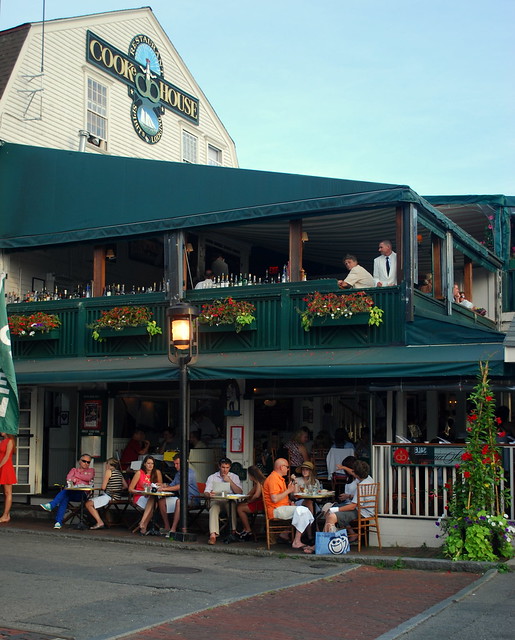
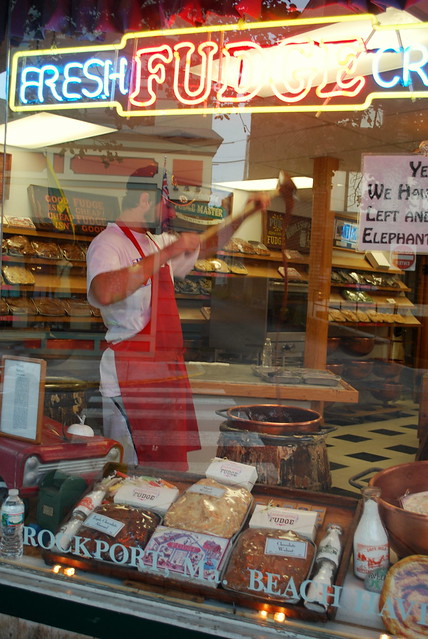
Saturday night I went to see the Fab Four. They are a Beatles tribute band and they were fabulous. I love the Beatles. Seriously LOVE them. Have since I've been a wee little one. Their music is the soundtrack of my life, so imagine my surprise when my friend John told us he was buying tickets and taking us! I was giddy. We went to Newport for the concert. For those of you not familiar with Newport is an island off of Rhode Island and its beautiful. It boasts lots of mansions (I'm sure most people have heard that Taylor Swift just bought a mansion here) I love the cobblestone streets and quaint little shops, boats upon boats upon boats and the fact that they even have someone making fudge in a huge copper pot right in the window....how sweet is that?  It's just beautiful. It was the perfect place to see an outdoor concert.

Newport Fab Four

Newport Fab Four2

Newport Fab Four3

Newport Fab Four5

Tati and I danced and screamed and sang every single song. It was a memory making moment for sure. I took a few pictures of John and Tati at sunset. I think these shots sum up their relationship perfectly. They are constantly making each other laugh.

Newport Fab Four10

Newport Fab Four9

Newport Fab Four12

We had a great night. The kind of night that carries all through the rest of the week. Then we came home and ate cake. I had made my Lemon Blueberry Pound Cake again cause Tati loves it so much. I know it's not the Pound Cake you see here, but that's ok right? I'm bringing you cake one way or another!

Now if you're a coconut lover you are going to LOVE this cake. If you don't like coconut, just walk away. Thanks for reading my little story. I'm sure you'll love the next recipe!

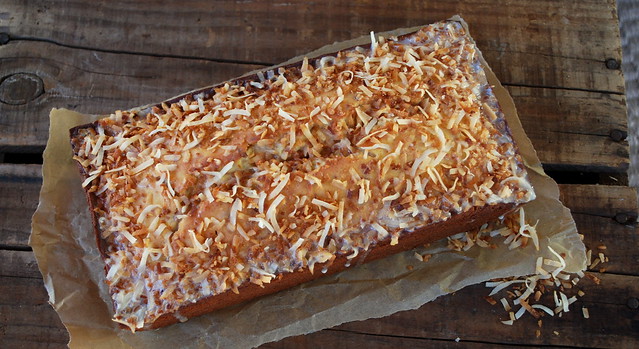
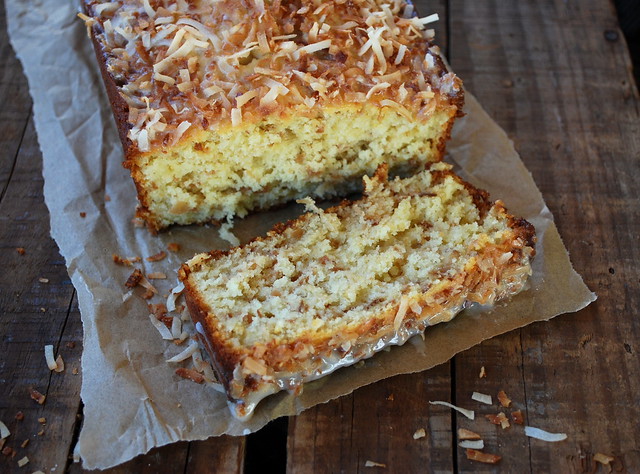
This is a coconut lovers dream. A moist, luscious pound cake loaded with toasted coconut and topped off with a sweet glaze.

A slice of this and a cuppa tea = heaven.


Toasted Coconut Pound Cake 1

Toasted Coconut Pound Cake
Recipe from Little Bits of….
3/4 cup unsalted butter, room temperature, plus more for pan
2 cups all-purpose flour (spooned and leveled), plus more for pan
1 1/2 teaspoons baking powder
1/2 teaspoon fine salt
1 cup granulated sugar
1 teaspoon pure vanilla extract
3 large eggs
1 cup plus 2 tablespoons buttermilk, divided
1 1/2 cups sweetened shredded coconut, toasted, divided
1 cup confectioners' sugar

Preheat oven to 350 degrees. Grease and flour a loaf pan. Whisk together flour, baking powder, and salt. In a large mixing bowl with paddle attachment, beat butter and granulated sugar on medium-high until light and fluffy, scraping down bowl as needed. Add vanilla, then eggs, one at a time, beating well and scraping down bowl. With mixer on low, add flour mixture in 3 additions, alternating with two 1/2-cup additions buttermilk, and beat until combined. With a rubber spatula, fold in 1 1/4 cups coconut.

Transfer batter to pan and bake until a toothpick inserted in center comes out with a few moist crumbs attached, 60 minutes. Let cool in pan the remove cake from pan and let cool completely on rack.

For the glaze:
Whisk together confectioners' sugar and remaining 2 tablespoons buttermilk. Drizzle over cake and sprinkle with remaining 1/4 cup coconut.

Friday, August 16, 2013

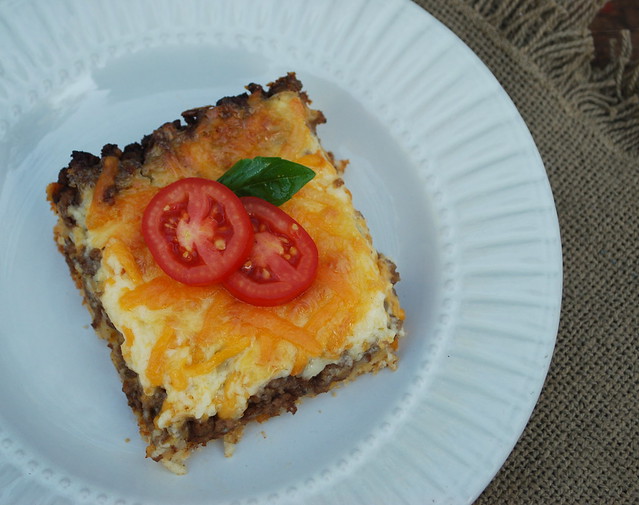
"The Duke" aka John Wayne Casserole

John Wayne Casserole.1jpg

Sooo....John Wayne had a casserole.

Ummm, not so much.

I was intrigued when I saw the name of this recipe and as most of you know I have an inquiring mind so I wanted to know why this was called John Wayne casserole and boy oh boy did I find a slew of different answers.

After reading lots of different theories I'm choosing the one that seems the most logical. Who knows if I'm right or not. This one just sounded right to me.

This from the University of Mississippi's Cafeteria:

The John Wayne Casserole is one of those old favorites. Served every other Thursday and nicknamed "The Duke," it has been a menu staple for 15 years. They once stopped serving the dish, but the retirement was brief-it was returned to the kitchen's repertoire due to much demand.

The John Wayne Casserole with Southwestern flavors quickly became a cafeteria favorite when it was introduced. "It was not unusual to see lines out the cafeteria door, and it has always been a top seller," says Williams. "We've tried putting other menu items up against it, but it still proves to be the one that people want." The spicy concoction is clearly a preferred dish and likely to be a part of UMC cafeteria's offerings for years to come.

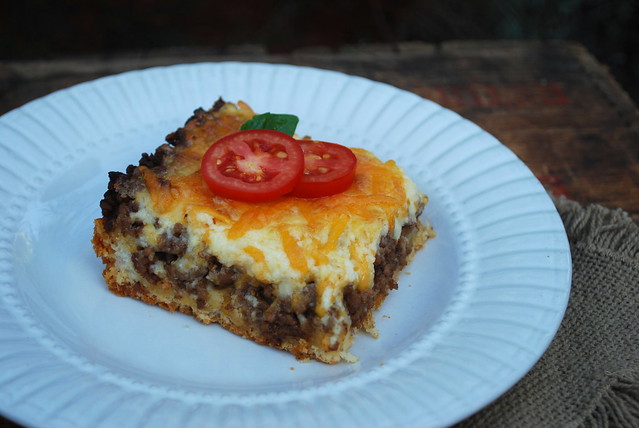
So there you have....recipe from the University of Mississippi...sounds logical right? This recipe just sounded like something my men would like. Well they didn't like it, they loved it. I think the creamy topping made it.

I adjusted it a bit. There really wasn't enough topping to cover mine so I amped it up a bit and it came out perfect.

John Wayne Casserole.2jpg


The Duke - John Wayne Casserole
adapted from the University of Mississippi Cafeteria
2 pounds ground beef, cooked and drained
1 (1.25-ounce) packet taco seasoning(2/3 cup water)
1/2 cup sour cream
1/2 cup mayonnaise
12 ounces shredded cheddar cheese, divided
1 small yellow onion, sliced
2 cups biscuit mix mixed with 3/4 cup water.
2 tomatoes, sliced
1 green bell pepper, sliced
1 (4-ounce) can sliced jalapeno peppers or a can of green chilies

Heat the oven to 350. Cook the onion slices until translucent. Add in the ground beef and cook until no longer pink. Drain any grease. Return to the pan and add in taco seasoning and 2/3 cup water; set aside.

In a separate bowl, combine sour cream, mayonnaise and half of cheddar cheese (6 ounces).

Stir biscuit mix and water (3/4 cup) to form soft dough. Pat dough on the bottom and one-half-inch up the sides of an 9 x 13 greased casserole dish.

On top of biscuit mix, evenly distribute ingredients in the following order: ground beef, tomato slices, green peppers, jalapeno peppers & sour cream mixture. Top with remaining shredded cheese.

Bake for 35 - 45 minutes or until edges of dough are slightly brown and cheese is bubbly.

Tuesday, August 13, 2013

Memories for sale.

We love to go to yard sales. It’s our little Saturday ritual during the summer and fall months. We head out early, armed with our newspaper and trusty navigator. I have a list of all the stuff I’m looking for but I usually end up buying stuff I’m not looking for.

I always start the day off anticipating a treasure. Sometimes I tell John I can feel it in my bones.

I’ve come across some great things over the years. Beautiful, old treasures, items that I’m sure have a story behind them. Beautiful wooden pieces with such character and so carefully made, I almost feel like I’m imposing when I take them home.

It always amazes when I see what people are selling from their homes. Usually it’s the normal type stuff, old coffee pots, baskets, pots, pans, kids’ clothes, books, etc. but sometimes there is so much more.

A few weeks back we stopped at an old house on the corner of a busy road. I love to stop at old houses because it usually means there’s lots of old stuff for sale and I love me some old stuff. This particular house had the usual odd’s and end’s, lots of old framed paintings, candle holders, old Christmas ornaments and such, but what struck me was the amount of personal items. Boxes and boxes full of photos, a family on vacation, graduation photos, new babies, birthday parties. Happy smiling people taken in the 40’s, 50’s and 60’s mostly. There was also a box of slides, all carefully labeled and dated in swirly old handwriting. Framed family portraits. Memories. Someones whole life in damp and crumbly boxes.

I looked though the photos and wondered whose life this was? What happened to this family? Why weren’t these photos passed down to children or grandchildren? Who was this smiling lady in the apron? Where is this child leaning over a homemade birthday cake blowing out the candles? Why was the photographic history of all these happy smiling people being sold at a yard sale?

It made me so sad.

I looked around again at everything laid out on that lawn and I wanted to cry.

Pieces of someone’s life scattered around on blankets and piled up on card tables.

It broke my heart.

I looked through dozens upon dozens of framed prints and paintings and I found this:

Picture 1


This botanical print by J. L Prevost in an antique wooden frame. I did a little research. This print was made in the 1930’s.

Maybe it hung in her kitchen? Maybe it was her favorite little picture? Maybe it was a gift from one of her kids?

I bought it.

$1.00.

A single dollar for this little piece of her life.

I’m going to put it on one of my walls and I know I’ll think about her each time I pass by it.

I don’t know who she was or what happened to her but I’m happy that a little piece of her will live on with me.

Tuesday, August 6, 2013

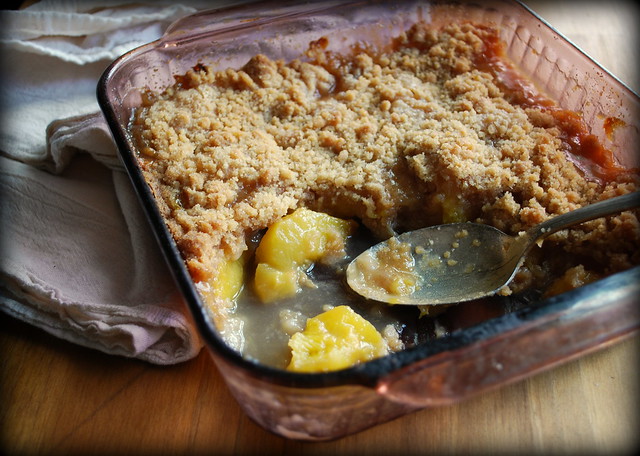
Peach Crisp

Peach Crisp

I love fresh fruit. I can't think of a fruit that I don't like. At least one that I can get my hands on. I've never tried Durian but from the description that it smells like dirty feet, rotten eggs or decaying flesh, it makes me think that it would be one of the fruits I wouldn't like.

I love eating in season. I think it makes more sense to eat fruits or veggies when they are ripe for the picking. That's why you'll see me making lots of fruit crisps and cobblers during the summer.

Peaches are juicy and oh so flavorful right now that I just had to make a peach crisp.

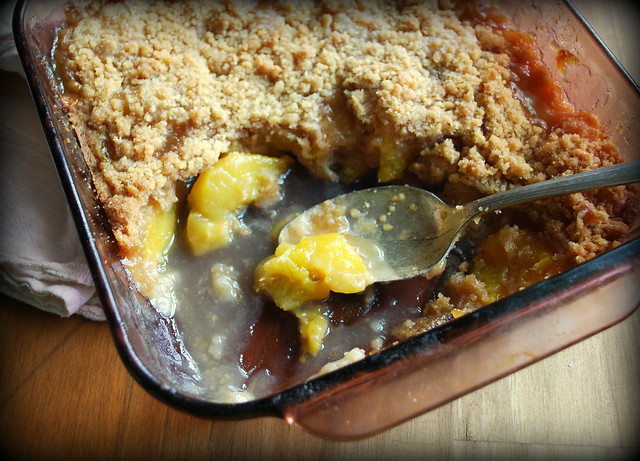
Peach Crisp 1

My neighbor saw me posting about this on Facebook and told my hubby it looked good, so we brought over a few bowls. They were very happy.

This recipe is from Pioneer Woman. She serves it with Maple Cream Sauce. It was super hot out when I made this. The heat makes me cranky. I had every intention of making the sauce, but the crankiness took over and I decided to skip it. I've included the recipe for it here in case your not as cranky as me and are inclined to make it.

Peach Crisp with Maple Cream Sauce
recipe from Pioneer Woman
5 whole To 6 Whole Fresh Peaches, peeled (best when not overly ripe or soft)
1 cup Flour
1/2 cup Sugar
1/2 cup Light Brown Sugar, Firmly Packed
1/2 teaspoon Ground Cinnamon
1/2 teaspoon Ground Nutmeg
1/4 teaspoon Salt
1 stick Butter (1/2 Cup)
1/2 whole Lemon
7 Tablespoons Real Maple Syrup, Divided
1-1/2 cup Whipping Cream
3 Tablespoons Light Corn Syrup


In a medium bowl, mix flour, sugar, light brown sugar, cinnamon, nutmeg and salt using a fork or pastry cutter. Cut butter into small pieces and gradually add to flour mixture until evenly mixed.

Put the peeled peaches into a bowl. Add the zest from half a lemon. Squeeze juice from lemon half and stir in with peaches and zest. Add 2 tablespoons real maple syrup to peaches, stir well.

Pour peach mixture into a small pan (8” or 9” square) and cover evenly with crumb topping. Cover with foil and bake at 350ºF for 15 minutes. Remove foil and bake for an additional 20 to 30 minutes or until crisp and brown on top.

Maple Cream Sauce:
Pour whipping cream into a saucepan. Add 5 tablespoons real maple syrup, 3 tablespoons corn syrup and stir over moderate heat until thickened and reduced by about one-third, approximately 15 minutes. Refrigerate mixture until it is cold and thick, or set the saucepan into a small bowl of ice (the ice will melt and turn into ice water). Stirring your mixture, it will cool and thicken in about 15 minutes. Drizzle sauce over peach crisp. Serve warm.

Friday, August 2, 2013

Million Dollar Spaghetti Casserole


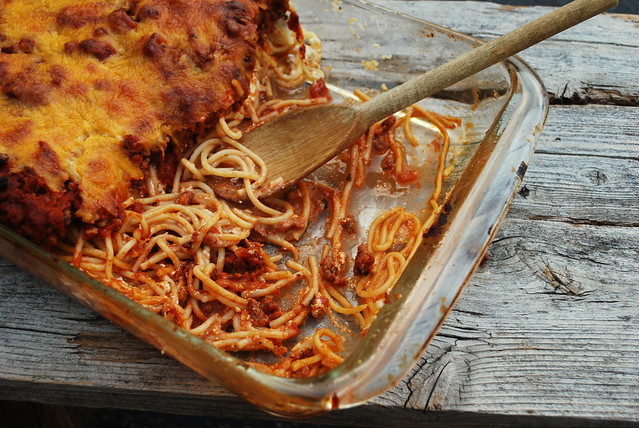
Million Dollar Spaghetti Casserole

Sometimes I see the same recipe over and over and over again. It's a little stalkerish, both on my part and the recipes part too.

I saw this casserole called Million Dollar Spaghetti Casserole about 20 times on Pinterest and around the web. I got a little curious and started to look up the recipe on a few sites, and then a few more, and geesh, I finally realized that no two people made this the same way. There were literally 20 different versions of this thing.

So I did what I usually do in the situation. I winged it and made it my own.

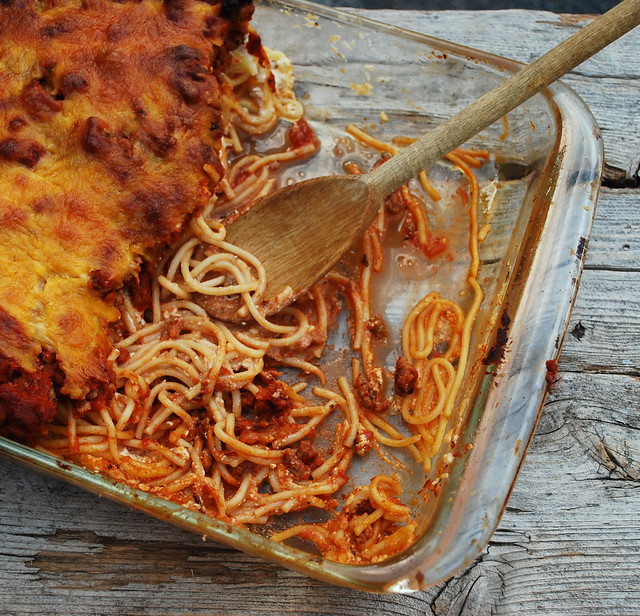
Now it's not a pretty dish. It's a tangle of spaghetti and ground beef and creamy goodness, but man oh man, it tastes wonderful. It's like spaghetti on steroids.

We loved this! I barely got a photo before someone was digging back into the dish.

So I give you my version of Million Dollar Spaghetti Casserole.

Million Dollar Spaghetti Casserole 2

Million Dollar Spaghetti Casserole
my version adapted from a boatload of recipes on the Internet.
1 1/2 pounds of ground beef
26oz jar spaghetti sauce
4 cloves of garlic, minced
8 oz of cream cheese, softened to room temperature
1/2 cup of sour cream
16 oz small curd cottage cheese
1 pound of spaghetti
Shredded cheddar cheese

Oven to 350.

Cook the past while you prepare the filling. Cook until al dente.

Combine the cream cheese sour cream and cottage cheese in bowl. Set aside.

Cook the ground beef and at the last few minutes, add in the minced garlic. Drain any grease from the beef. Add the spaghetti sauce to the beef mixture. I also add some Mrs.Dash while the ground beef is cooking, you can add any seasoning you like.

Grease a 9x13 baking dish and place half of the spaghetti in the bottom of the dish. Add the cheese mixture. Spread out evenly and top with the rest of the pasta. Pour the meat sauce over top of dish and spread out. Bake covered with foil for 30 minutes. Remove from the oven and remove the foil. Add enough shredded cheese to cover the top of the casserole. Cook for another 20- 30 minutes or until browned and bubbly. Cool in pan 5 minutes before serving.